Yoast is one of the most popular WordPress plugins for optimizing your site for search engines. The free version from the WordPress repository has over 5 million active installs. The premium version offers additional features to improve your SEO performance. If you are using the free version and want to upgrade to the premium version, here is how you can install the premium Yoast SEO plugin.
WordPress SEO: Optimize your WordPress website with the free SEO guide for WordPress.
Features of the Yoast SEO Premium Plugin
Many argue that the premium version of Yoast SEO is not worth the money. However, you must think legally. The developer offers the most important features for free. You can upgrade to the premium version for a few extra features and as a thank you. We have been using the free version for more than six years and decided to buy the premium version only as a token of gratitude to the developer. Here are some of the features you get with Yoast SEO premium.
- Access to Yoast SEO Academy
- Internal link suggestion tool
- Table of contents and blocks of related articles
- Multiple keyword analysis with synonyms
- Previewing posts on Twitter and Facebook
- Find lost articles that don’t have internal links
- Redirect Manager
- Integration with Zapier
It will cost you $89 and you can get 20% to 30% off on special occasions like Black Friday. You’ll get one year and support with the premium version and get a 25% discount on renewals.
Installing the Yoast SEO Premium Plugin
The installation process for the premium version is somewhat different from other plugins.
- Buy plugin
- Login to your Yoast account
- Add your site
- Activate your subscription
- Download premium version
- Change free version to premium
- Check your settings
Step #1 – Buying a Premium Plugin
If you decide to purchase, go to the Yoast website and go to their store section. Find the plugin and click the “Get Yoast SEO Premium” button. Remember that they have different premium versions for news, WooCommerce, news, videos, etc. Make sure you buy a generic SEO plugin.
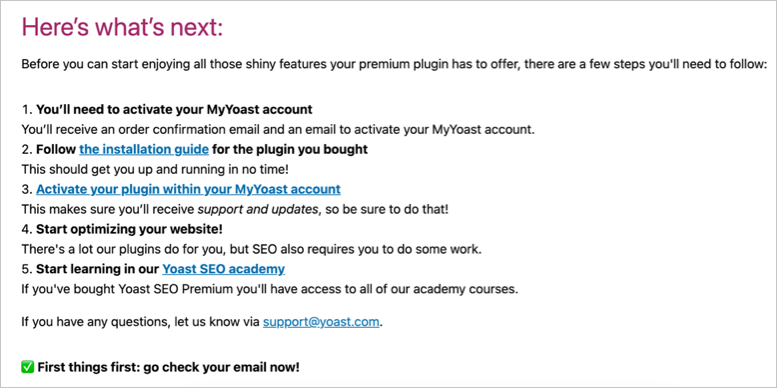
Follow the checkout instructions to complete your purchase. After successful payment, you will see the checklist as shown below. Write down or copy a checklist that you should follow next.
Step #2 – Log in to your Yoast account
You will receive an email from Yoast to activate your MyYoast account. Click the link in the email to set a password for your account.
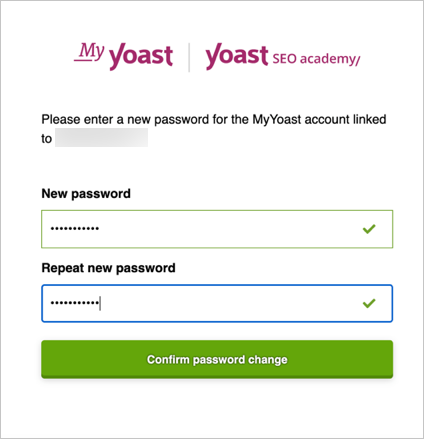
After changing the password, you will see a success message as shown below.

Now that you have your email address and password to login to the Yoast website.
Related Posts :
Step #3 – Add Your Website to Your Yoast Account
The next step is to add your site to your Yoast account and activate your subscription. Remember, you usually activate your subscription by entering your license key in the WordPress admin panel. However, with Yoast, you must first activate a subscription in order to download the premium plugin.
- Sign in to your Yoast account.
- Go to the Home tab and click the Add Site button. Or go to the Sites tab and click the Add Site button.

- Enter the full and correct URL of your website and select WordPress as the platform.
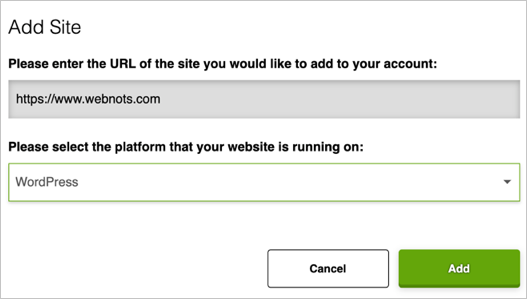
- Click the “Add” button to add your site to your Yoast account.
If you want to change the site after a while, just go to your MyYoast account and delete the old site. add your new site and activate the subscription for the remaining period.
SEO Offer: Optimize your website with a special 14-day free trial of SEMrush Pro.
Step #4 – Activate your subscription
After adding your site, go to the “Sites” tab to view the added site and click on it. Here you will see the purchased plugin subscription and available activation.

Enable “Yoast SEO for WordPress Premium” to activate the subscription on your site. This will activate the “Download” and “Manage” buttons opposite the plugin.

Click the “Manage” button to view subscription details such as start/end dates, products, and the ability to download an invoice. Surprisingly, clicking on the download button does not start the download. You will see a pop-up window with a link to the installation guide on the Yoast website.

Step #5 – Download the Premium Version
Now go back to the control panel and go to the “Downloads” section. Here you will see the actual download button for the Yoast SEO Premium and Premium + Academy options. Click on the version you want and download the premium version of the Yoast SEO plugin on your computer.
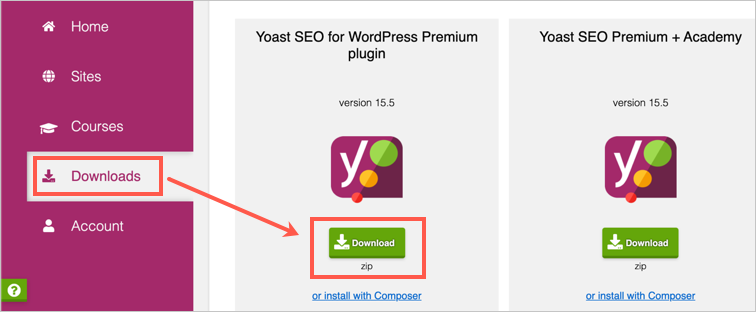
Download the ZIP file like any other plugin. In some cases, your computer may decompress the downloaded ZIP file into a folder.
Step #6 – Install the Yoast SEO Premium Plugin
If you’re not using the free version of Yoast, download the ZIP file via the Plugins > Add New section of your admin panel. Alternatively, you can upload the extracted plugin folder to the “/wp-content/plugins/” directory using FTP or the File Manager app. However, if you’re already using the free version, be sure to migrate any existing metadata to the premium version.
- Go to your WordPress admin panel and navigate to Plugins > Installed Plugins.
- Make sure your free version of the plugin is the same as the premium version you downloaded from your Yoast account. If not, first update the free version to the latest version and download the latest version from your Yoast account.
- After making sure you have the correct version of the plugin, disable the free plugin.
- Now click the Add button and download the premium ZIP file you downloaded in the previous step.

- Click “Install Now” and WordPress will start extracting the plugin from the ZIP file.
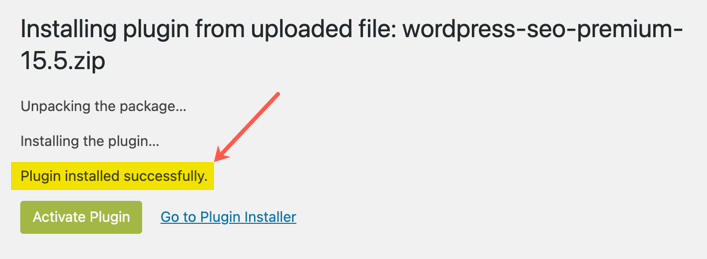
- After you see the line “Plugin successfully installed”, click the “Activate plugin” button.
- You should now see the premium version active and the free version inactive.

- Click the Remove link and remove the free version from your site.
This process will automatically transfer all data from the old free plugin to the new premium plugin.
Note. The Yoast plugin affects the visibility of your site in search engines. Hence, we recommend that you backup your site before installing the premium version. This will help you recover in case of any problems at another moment.
Step #7 – Check Your Website
To make sure everything is working fine, go to the “SEO” menu and check the settings. You should see that all your previous plugin settings are exactly there. You can also open the site in a browser and check that the source code contains your meta description and SEO titles. The source code will also mention that the site uses the premium version of Yoast SEO.
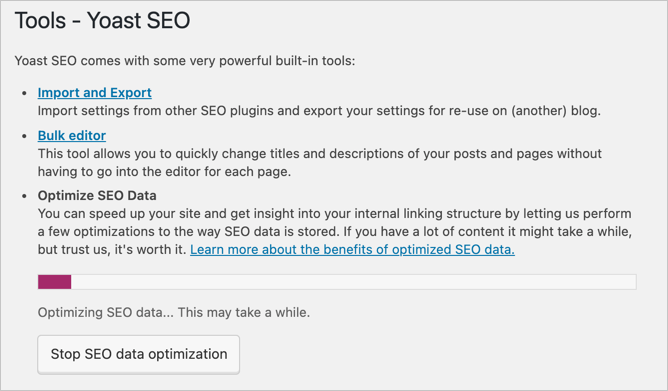
Now that you have successfully installed the premium version of Yoast SEO and uninstalled the free version. Before you explore the premium features, you need to go to SEO > Tools and optimize your data. This will help the plugin correctly suggest internal and other link-related suggestions.
